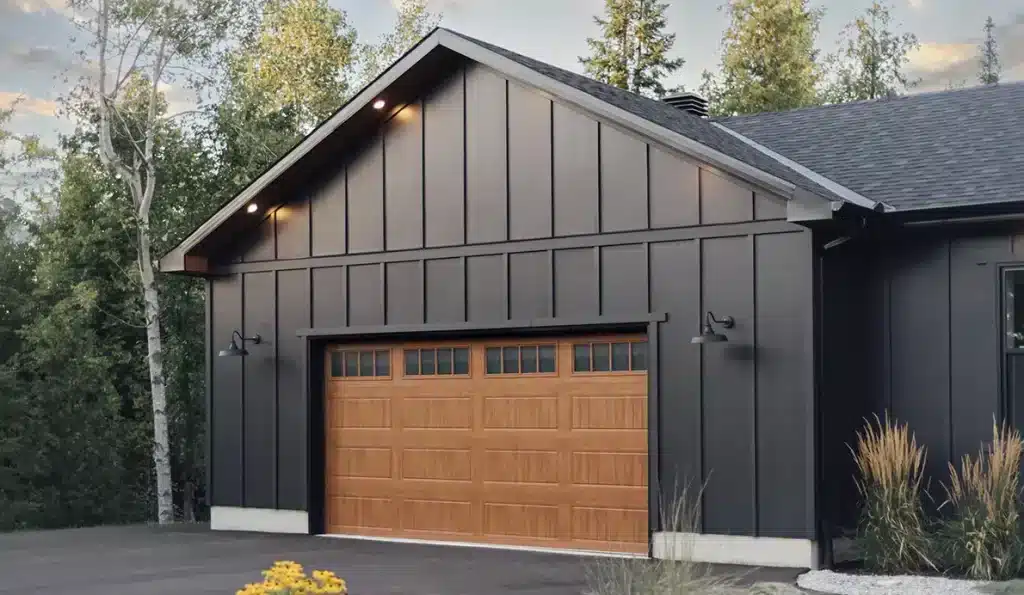
Adding a new code to your LiftMaster keypad provides secure, convenient access to your garage without relying solely on a remote. Whether you are updating an entry for a new home, adding access for family members, or improving home security, the process must be handled correctly for consistent performance.
A properly programmed garage door keypad connects directly to your garage door opener and stores the new credential in system memory. When done correctly, it protects against unauthorized access while maintaining the reliable operation of your garage door system.
What Happens When You Add a New Code to a LiftMaster Keypad?
When you add a new code to a LiftMaster keypad, the garage door opener enters learn mode, saves the new credential in its memory, verifies compatibility between the keypad and motor unit, and confirms secure communication for reliable daily access and improved home security.
Common changes that occur during this process include:
- The opener activates the learn button and opens a short pairing window.
- The keypad transmits the new pin to the garage door opener for storage.
- The system validates the credentials to prevent unauthorized access.
- Indicator signals, such as a flashing opener light, confirm that memory has been accepted.
- The updated entry setting becomes part of the overall keyless entry system.
These system responses explain why correct sequencing and confirmation matter, so read our guide on How to Change a LiftMaster Keypad Code to understand how professionals manage secure access updates and prevent programming errors.
Before Adding a New Code, Confirm Your Keypad and Opener Setup
Confirming your setup first helps your LiftMaster keypad save the new code correctly, avoid compatibility problems, and deliver reliable access without repeat errors.
- Confirm the opener is a LiftMaster model and identify the unit series.
- Check that the keypad model matches the opener’s security type and supported accessories.
- Verify the keypad is powered on and that the buttons respond strongly to avoid entry failures.
- Make sure the motor unit has steady power so learn mode stays active.
- Confirm whether adding a code creates a new user entry or replaces an existing one.
These quick checks reduce common issues during pairing and help the programming process complete smoothly before you move into the step-by-step section.
Steps to Add a New LiftMaster Keypad Code
Step 1: Locate the Learn Button on the Opener Motor Head
Finding the learn button on the LiftMaster garage door opener motor is the first step because learn mode can only start from the opener’s motor unit, and the pairing window stays open for a short time.
Key places technicians check include:
- The back or side panel of the motor unit near the antenna wire.
- A small labeled button near the wiring terminals or light cover.
- A control area where an led light sits close to the learn feature.
- A spot that triggers a brief indicator response on the opener light.
- A location that may vary across various models and opener generations.
When the learn button area is damaged or unsafe to access, scheduling a garage door repair helps confirm the motor unit is ready before programming continues.
Step 2: Put the Opener Into Learn Mode
Activating learn mode prepares the opener to accept a new code by opening a timed programming window that allows the keypad to send and store an access credential.
Signals that help confirm learn mode is active include:
- The opener light changes state or blinks to show that a pairing window started.
- A small indicator light near the learn area begins flashing.
- The opener shows a short response that confirms readiness for keypad input.
- The programming window opens only briefly before closing automatically.
- Any interruption or power drop may cause the learning state to be canceled.
After the learn mode is active, the keypad can transmit the new PIN to the opener, which stores it in the keyless entry system.
Step 3: Enter the New PIN on the Keypad and Sync
Entering the new pin on the keypad sends the credential to the opener, which stores it as an approved keyless entry code.
Input behaviors that matter during this step include:
- A clean PIN entry that avoids predictable patterns like consecutive numbers.
- The correct key sequence that matches the specific instructions for the keypad model.
- A final action to press Enter so the opener registers and stores the code.
- A keypad response that confirms the entry was accepted and transmitted.
- A stable signal path that allows the opener to receive the credential fully.
Repeated PIN and syncing failures often point to signal or communication issues, and a garage remote control service can help confirm that the opener is receiving and storing keypad commands correctly.
Step 4: Confirm the New Code Works and Check Response Consistency
Testing confirms that the LiftMaster keypad delivers consistent access, enabling the door to operate smoothly and supporting home security without unpredictable failures.
Verification checks usually include:
- Multiple open-and-close cycles to confirm reliable performance.
- Testing from the normal approach distance to confirm the stable keypad range.
- Confirming the opener responds without hesitation or partial movement.
- Watch for flashing or inconsistent indicator behavior during activation.
- Confirming the door reacts the same way across repeated attempts.
Reliable verification helps reveal problems early, which is why adding more code should only happen after consistent operation is confirmed.
Step 5: Add Secondary PINs for Additional Users if Needed
Adding extra user codes can help manage access for family members while reducing the risk of shared-code problems that can lead to unauthorized access.
Common reasons professionals add additional codes include:
- Separate PINs for different family members to keep access organized.
- A dedicated PIN for short-term entry that can be removed later.
- A new user entry for service access that stays controlled.
- A setup that reduces the need to share the same code repeatedly.
- A structure that keeps keyless entry convenient without weakening security.
Inconsistent code responses or a reduced range often signal a broader issue, and garage door maintenance can help verify stable operation and prevent repeat access failures.
LiftMaster Keypad Programming Differences by Model and Opener Type
How Newer Rolling-Code Systems Differ From Older Systems
Rolling-code openers change the access signal every time, which helps a LiftMaster keypad resist code-grabbing better than older fixed-code systems that reuse the same signal.
Model differences to expect include:
- Rolling codes refresh after every activation to reduce replay risks.
- Fixed-code systems repeat the same transmission, which can be easier to copy.
- Newer platforms often confirm programming more clearly through indicator feedback.
- Older units may store fewer credentials, which can limit the number of users that can be added.
- Mixed accessory generations can cause pairing failures when security types do not match.
LiftMaster’s own explanation of rolling-code technology clarifies how the code changes each use and why that matters for security and compatibility.
How Smart-Enabled Openers Affect Programming and Syncing
Smart-enabled openers can add extra device checks during pairing, which may change how quickly the keypad syncs and how consistent keyless entry feels afterward.
Smart-related factors that can influence results include:
- App-linked settings can affect how access credentials are accepted.
- Device validation can block unsupported accessories during setup.
- Interruptions during pairing can prevent the opener from saving the credential.
- Multi-user access features can complicate code management.
- Confirmation behavior can vary depending on supported keypad types.
Chamberlain Group’s official setup instructions for the myQ Video Keypad show how connected systems pair to an opener using the learn sequence and app-based confirmation steps.
What Keypad Lights and Beeps Can Indicate During Setup
Keypad lights and beeps serve as status signals during pairing, helping confirm whether the opener is ready, whether the entry was accepted, and whether errors are due to power, timing, or recognition issues.
Signal clues professionals watch for include:
- A normal light response that suggests the keypad has power and is registering input.
- A rapid beep pattern that can indicate an invalid entry or rejected save attempt.
- No response that can point to a dead battery or worn buttons.
- A brief confirmation response that suggests the opener accepted the credential.
- Repeating error behavior can signal an opener-side condition that blocks successful learning.
LiftMaster and Chamberlain’s diagnostic guidance explains how opener LED flash patterns communicate specific faults, which helps connect keypad symptoms to opener-side conditions.
Common Issues When Adding a New Code and What They Usually Mean
Problems during setup usually come from timing, power, compatibility, or signal confirmation, which can prevent the opener from saving the credential correctly or responding consistently when the keypad sends the entry.
Common issues and what they often indicate include:
- The keypad accepts entry, but the door does not move, which often means the learn mode timed out or the code did not save.
- The opener clicks without running, which can point to an opener-side stop condition or abnormal resistance detection.
- Pairing keeps failing, which often suggests compatibility issues between the keypad and the opener generation.
- Range is short or inconsistent, which can indicate weak keypad power or signal interference.
- The code works once and then stops, which can suggest an incomplete save or unstable memory behavior.
Knowing what each symptom usually points to makes troubleshooting faster and helps confirm whether the next step is a re-sync, a compatibility check, or a broader opener inspection for reliable daily access.
Why Your New LiftMaster Keypad Code Is Not Saving
A new LiftMaster keypad code may not be saved if the opener cannot complete the learning sequence or the keypad cannot transmit a clean, compatible signal during the programming window.
Common causes include:
- Opener memory is full, preventing the storage of another user code.
- Learn mode times out, which stops the opener from saving the entry.
- Power drops during programming, potentially interrupting the save cycle.
- Keypad power is weak, which can reduce signal strength during pairing.
- Button wear causes incomplete input, resulting in a failed save attempt.
Pinpointing the likely cause helps the code store correctly and restores reliable keypad access without repeated programming failures.
Security and Access Control for a LiftMaster Garage Door Keypad
When to Add a New Code Versus Remove an Existing Code
Choosing between adding a new access code and removing an old one helps protect your home by limiting who can enter through the keypad and reducing the risk of unauthorized access.
Situations where adding a code makes sense include:
- New household access is needed for family members.
- A new user needs to be added without sharing a common PIN.
- A temporary code is required for short-term access.
- Access needs change after moving into a new home.
- Code control is needed without handing out a remote control.
Cases where removing a code is the safer move include:
- A PIN was shared too widely and may allow unauthorized entry.
- A previous resident or contractor still knows the old code.
- Access was given for a one-time visit and should be shut off.
- Security concerns appear after repeated failed entry attempts.
- Control needs to be tightened after a keypad upgrade or accessory change.
Stronger access control starts with removing outdated credentials at the right time, so read our guide on How to Delete a LiftMaster Keypad Code to understand how professionals clear old entries and reduce unauthorized access risk.
Managing Shared Access for Households, Tenants, or Staff
Shared keypad access works best when codes are organized by user type, so homeowners can reduce confusion, avoid code sharing, and better control entry history.
Practical ways to keep access organized include:
- Assign a dedicated code to each household user instead of a shared PIN.
- Create a separate code for tenants or staff when multiple users need entry.
- Avoid sending codes alongside phone numbers for sms purpose in case messages get forwarded.
- Use a limited-use code for delivery or service access when supported.
- Update codes after turnover events such as moves, rentals, or staffing changes.
Better organization reduces the chance of mixed access and helps keep the keypad from becoming a shared entry point that weakens home security over time.
Preventing Unauthorized Access After a Lost or Shared PIN
Code exposure can happen quickly when a PIN is written down, shared verbally, or saved in messages, so tightening access promptly helps prevent unauthorized access and restores peace of mind.
Risk-reduction actions homeowners often take include:
- Replace a shared PIN with a fresh code after suspected exposure.
- Avoid easy patterns, such as birthdays or consecutive numbers.
- Add unique codes for different users when the system supports multiple entries.
- Confirm the keypad is not failing in a way that causes accidental lockouts or repeated retries.
- Consider a controlled access update when older accessories or third-party keypads were used.
A faster security response reduces the window for unwanted entry, and LiftMaster’s official guidance on programming keyless entry PINs helps explain how access updates are handled safely across supported opener setups.
Why Proper Reprogramming Matters After a Code Change
Reprogramming after a code change helps the opener and keypad stay fully synced, prevents intermittent access failures, and confirms that the system reliably recognizes the updated credential.
Key reasons reprogramming may still be needed include:
- Stored settings do not update cleanly after a code change.
- The opener memory holds conflicting or incomplete entries.
- Pairing confirmation never fully completes during the learn window.
- Keypad response becomes inconsistent at normal range.
- Security updates require a fresh sync for reliable keyless entry.
Proper reprogramming restores consistent operation and helps prevent repeat lockouts or unexpected access issues after updating keypad credentials, so read our guide on How to Reprogram a LiftMaster Keypad After a Code Change to understand the correct steps and system checks required.
Reliable LiftMaster Keypad Code Setup Support in Buford, GA
Adding a new LiftMaster keypad code should improve keyless entry and home security while keeping your garage door opener working smoothly. A properly configured setup helps prevent lockouts, reduces unauthorized access risk, and supports reliable daily access.
Elite Overhead Garage Doors helps Buford, GA, homeowners with LiftMaster keypad programming, code troubleshooting, and system checks for reliable access. For further assistance, contact us or give us a call today, and we will help add your new keypad code and confirm dependable operation.